If you’re an angler, the thought has certainly crossed your mind at some point or another…what if I had my own bait tank???
Depending on where you live, buying fresh bait repeatedly for your fishing outings can certainly add up. Obviously, a bait tank will be a place to store all leftovers and the like, so you always have fresh bait when you go fishing again.
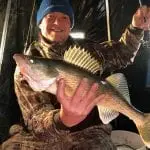
Or, it could be that you catch your own bait. Up in the north country, we catch creek chubs often for our walleye fishing, and keeping them alive in itself can be a challenge.
I’ve set up my own bait tanks myself, both in an aquarium setup and in a chest freezer. Both have their time and place, but more often than not, you’re going to want the chest freezer setup. I will explain why.
WHERE TO START ON YOUR BAIT TANK
The first thing you need to decide on is what kind of bait tank you will need. As stated earlier, chest freezer setups are very popular these days. Why?
Well first off, they’re inexpensive. I’ve bought 2 chest freezers on Facebook Marketplace for $100 each. Sure you can buy new, but let’s face it, it’s a bait tank…enough said.
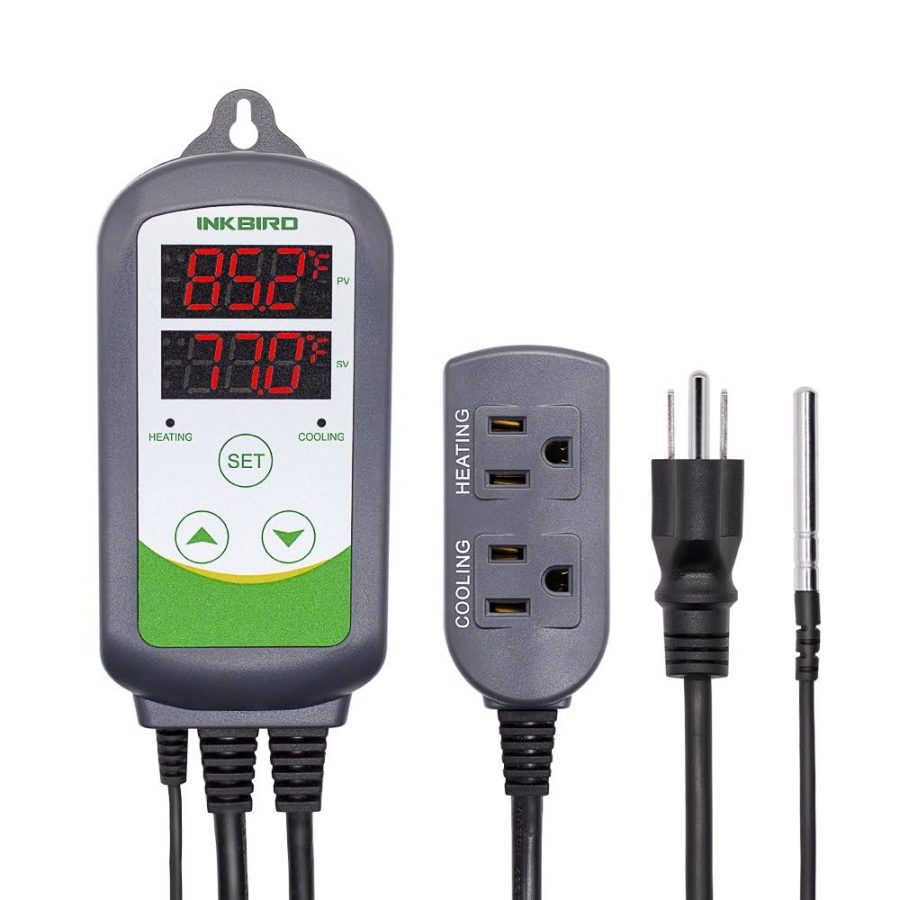
Also, with a freezer you can keep your water cool easily by using a regulator on the freezer itself to control how often the freezer is running. Basically set your temperature like an oven on the regulator, and that’s it! Your freezer normally stays within a degree or two of that setting at all times.
Also, don’t forget you’ll need to drill a hole big enough in the top of the freezer to allow the air tubes to go into the tank. I usually drill a bit larger of a hole than you think is necessary, so it’ll allow plenty of room for another line if you so choose later.
Lastly, you’ll want to use NON-TOXIC sealant on the freezer itself. Make sure to caulk EVERY crack in the freezer to ensure it’ll never leak. Did I mention the non-toxic version??? Look closely when you purchase your caulking.
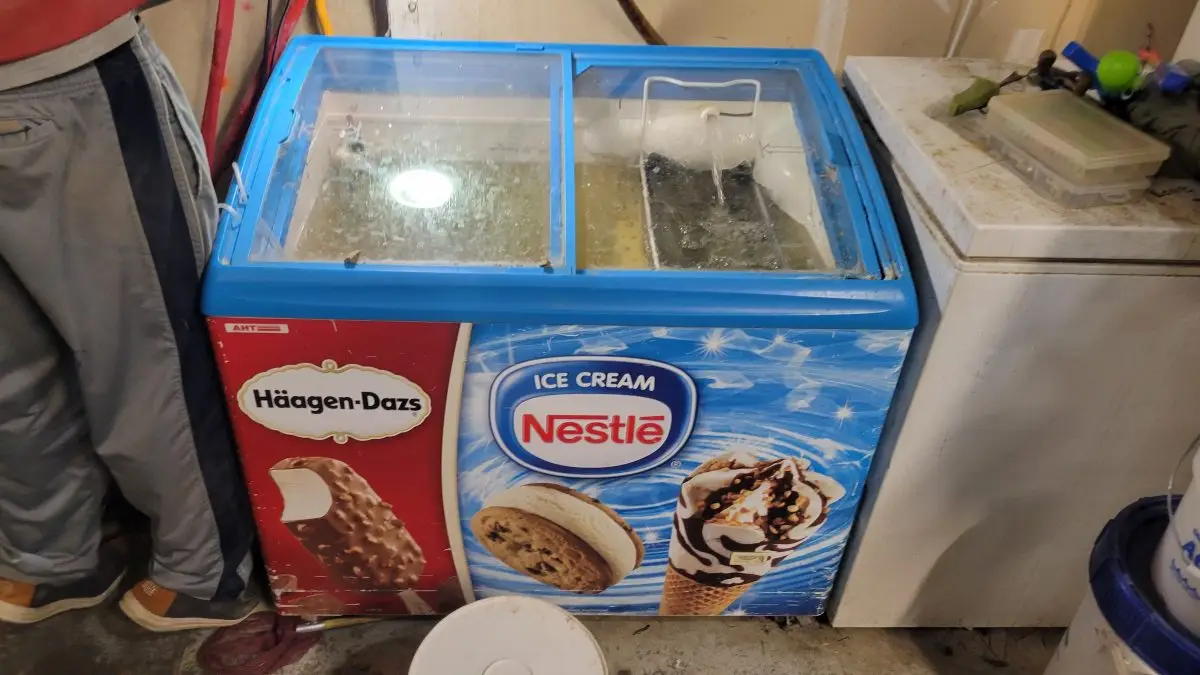
But just because I recommend chest freezers, doesn’t mean that’s the only way to set up a bait tank. My good friend and tournament angler Trent Eiseman of Bismarck, ND has a unique setup. He acquired a used ice cream treat freezer from a local store and turned it into his own bait tank. He says he’s had amazing success in keeping bait alive long-term with his.
To each their own, just keep the water cool!!!
USING NATURAL WATER VS. TAP WATER FOR TANK
This is another big decision that you will have to make from the beginning. What type of water should you use for your bait tank? Your options are really natural water from a river, lake, or creek…or “man-made water” that comes from the tap.
I’ve tried both myself and believe it or not, TREATED tap water works better in the long term. Why?
Well first off, I’ve found that natural water often has almost too much bacteria in the water. That means if you’re going to use it, make sure you’re prepared to keep your filters clean to keep up with that.
I’ve found that using an industrial water filter is the best route if you want to pull out your wallet. Or, you can make your own.
A homemade filtration system actually isn’t too hard to pull off. I’ve used a 5-gallon bucket, and run the water through a series of layers of rock and filters. The end result, over time, is next to clear water. Keep in mind, try to get the clearest water possible for your tank in the beginning. I do not recommend using dirty or stained water, whenever possible.

Keep in mind, that there are thousands of ways to filtrate water. What route you choose isn’t as important as keeping an eye on it yourself to ensure proper water.
If you’re going to use tap water, also make sure to treat it properly AND give it some time to settle and build its own bacteria. A tip to speed up the process is to add a gallon or two of natural water to the tapwater setup. That introduces natural bacteria into your tank that’ll spread rather quickly.
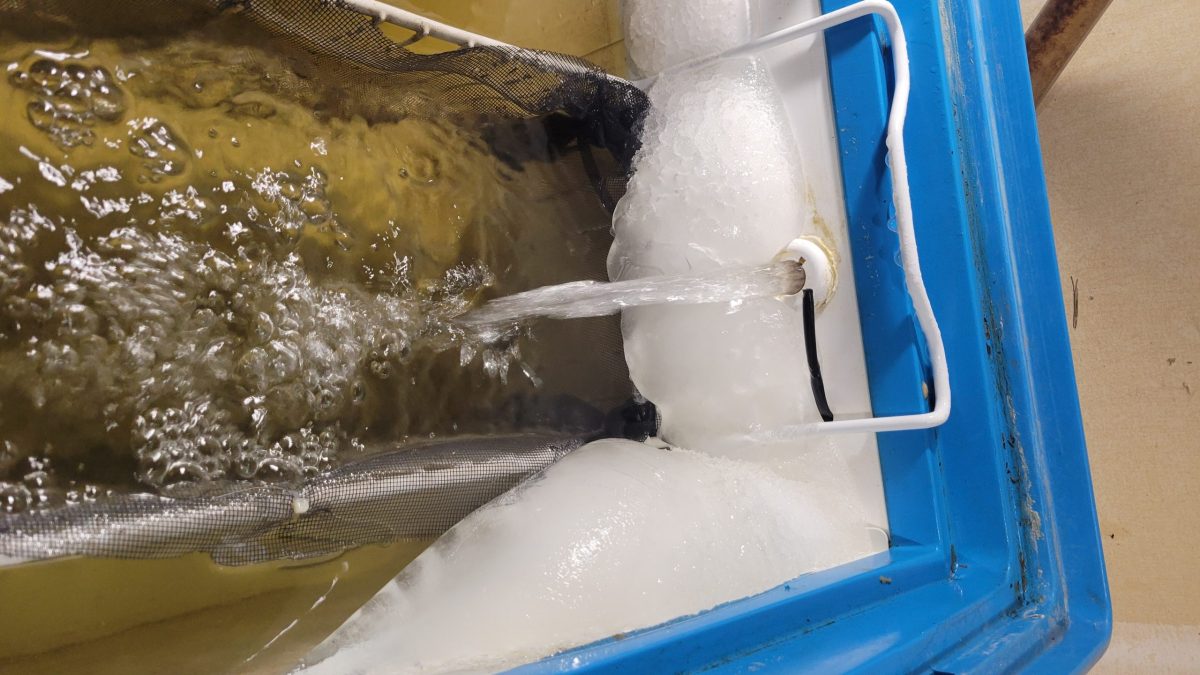
Lastly, make sure to keep your water cool at all times as stated earlier. You’ll want a temperature regulator for this. I did order 2, just in case one failed (they’re pretty cheap). I usually kept my water around 45 degrees. They seemed to do fine at this temperature, and are pretty “chill” (no pun intended).
WHAT WATER PUMP AND ACCESSORIES ARE NEEDED?
The options here are about as endless as the filters. What you’re looking for is a water pump that’s strong enough to put out the air necessary for your bait. But keep in mind, you can go overboard, too, if you buy a water pump that is too big. Too much oxygen can be bad for fish, as well.
I’ve had good luck with the following bait tank water pump.
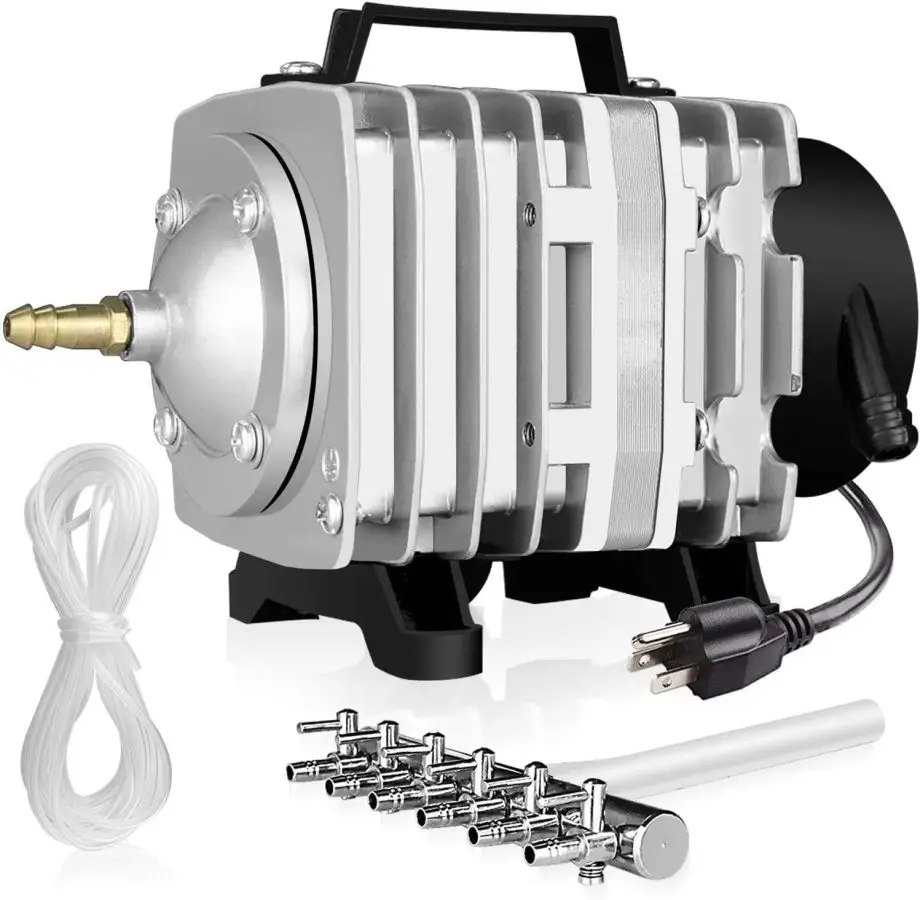
Simple Deluxe with Adjustable Air Flow Outlets
It has 6 ports, so I can literally run 6 lines of air to the tank if I really want to. But I normally use 2 or 3 and shut off the other ports. You’ll want a long air tube line, so it has plenty of room to run down into the bottom of your tank. Air tubing is cheap, buy plenty.
Also, it’s not a bad idea to have a couple of portable bait pumps on hand. What happens if you have a power outage? A few hours of downtime could be deadly for your bait tank. So having a few portable options can help “fill the gap” in the event of an emergency.
What air stones you’ll use is also an important decision. Again, LOTS of options here but what you’re looking for are air stones that’ll produce A LOT of bubbles. Not only that, but you’ll also want a stone that’s heavy enough so it always stays still and on the bottom.
I’ve had really good luck with these air stones since they satisfy both demands.
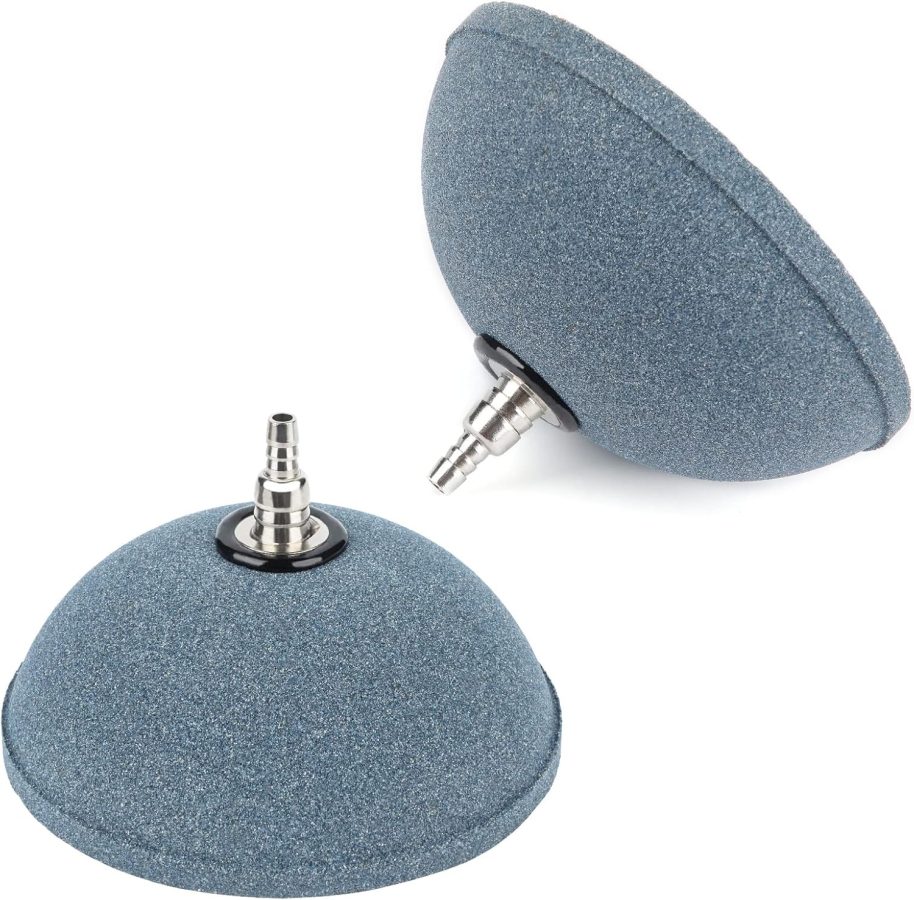
Pawfly Aquarium Air Stone 4 Inch
SECRET INCLUSIONS TO MAINTAINING A PROPER BAIT TANK
Rock and Gravel on the Bottom
If you don’t use any rock or gravel at the bottom of your bait tank, you’re probably setting yourself up for failure. Fish poop, and with that being said, it collects on the floor of the tank. Over time, this builds up and circulates around since it has nowhere to settle. This could start producing a toxic environment for your bait tank. So do yourself a favor, and use some gravel.
Sucker Minnows
There are a wide variety of bottom feeders you can use for your bait tank. Depending on the size of your freezer, you’ll probably want around 3-5 suckers in the tank. These are basically vacuuming your gravel on the floor, ensuring no toxic buildups. If you don’t use sucker minnows, you’ll want to change your water more often.
Crawfish
Yes, crawfish. Adding a handful of crawfish to your tank will help clean up any bait loss in your tank. Ideally, all dead bait would float to the surface but that just isn’t the case. A lot of it ends up on the bottom of the tank, and if left alone, can again create another toxic environment.
Crawfish are basically mother nature’s bottom feeders. They will eat all the dead bait, and anything left over gets cleaned up by the sucker minnows.
I cannot take credit for this addition, my good friend Trent Eiseman is the one who tipped me off to this.
BAIT TANK PARTS CHECKLIST
To make it easy for those looking to set up their own bait tank, I made a master checklist of everything you’ll need to get started.
- Freezer
- Caulking Gun & NON-TOXIC Waterproof Sealant (caulking)
- A drill and a large drill bit for the hole at the top
- Water Filter (We made our own)
- Temperature Regulator
- Water Pump
- Portable Air Pumps for Backup
- Plenty of Air Tubing
- 2-4 air stones
And of course…….water
RECAP
While starting a bait tank may seem easy, in reality, it comes with a lot of knowledge through trial and error. I hope this article helped answer some questions many will have, and I’m available to answer more at [email protected].
Tight Lines…